
Wiki
Wiki
Line Checks
Line Checks
Line check lets you work through a filter's channels one by one and mark each as checked. You'll need a filter set up before starting. See the Filters article if you haven't done that yet.
Starting a line check
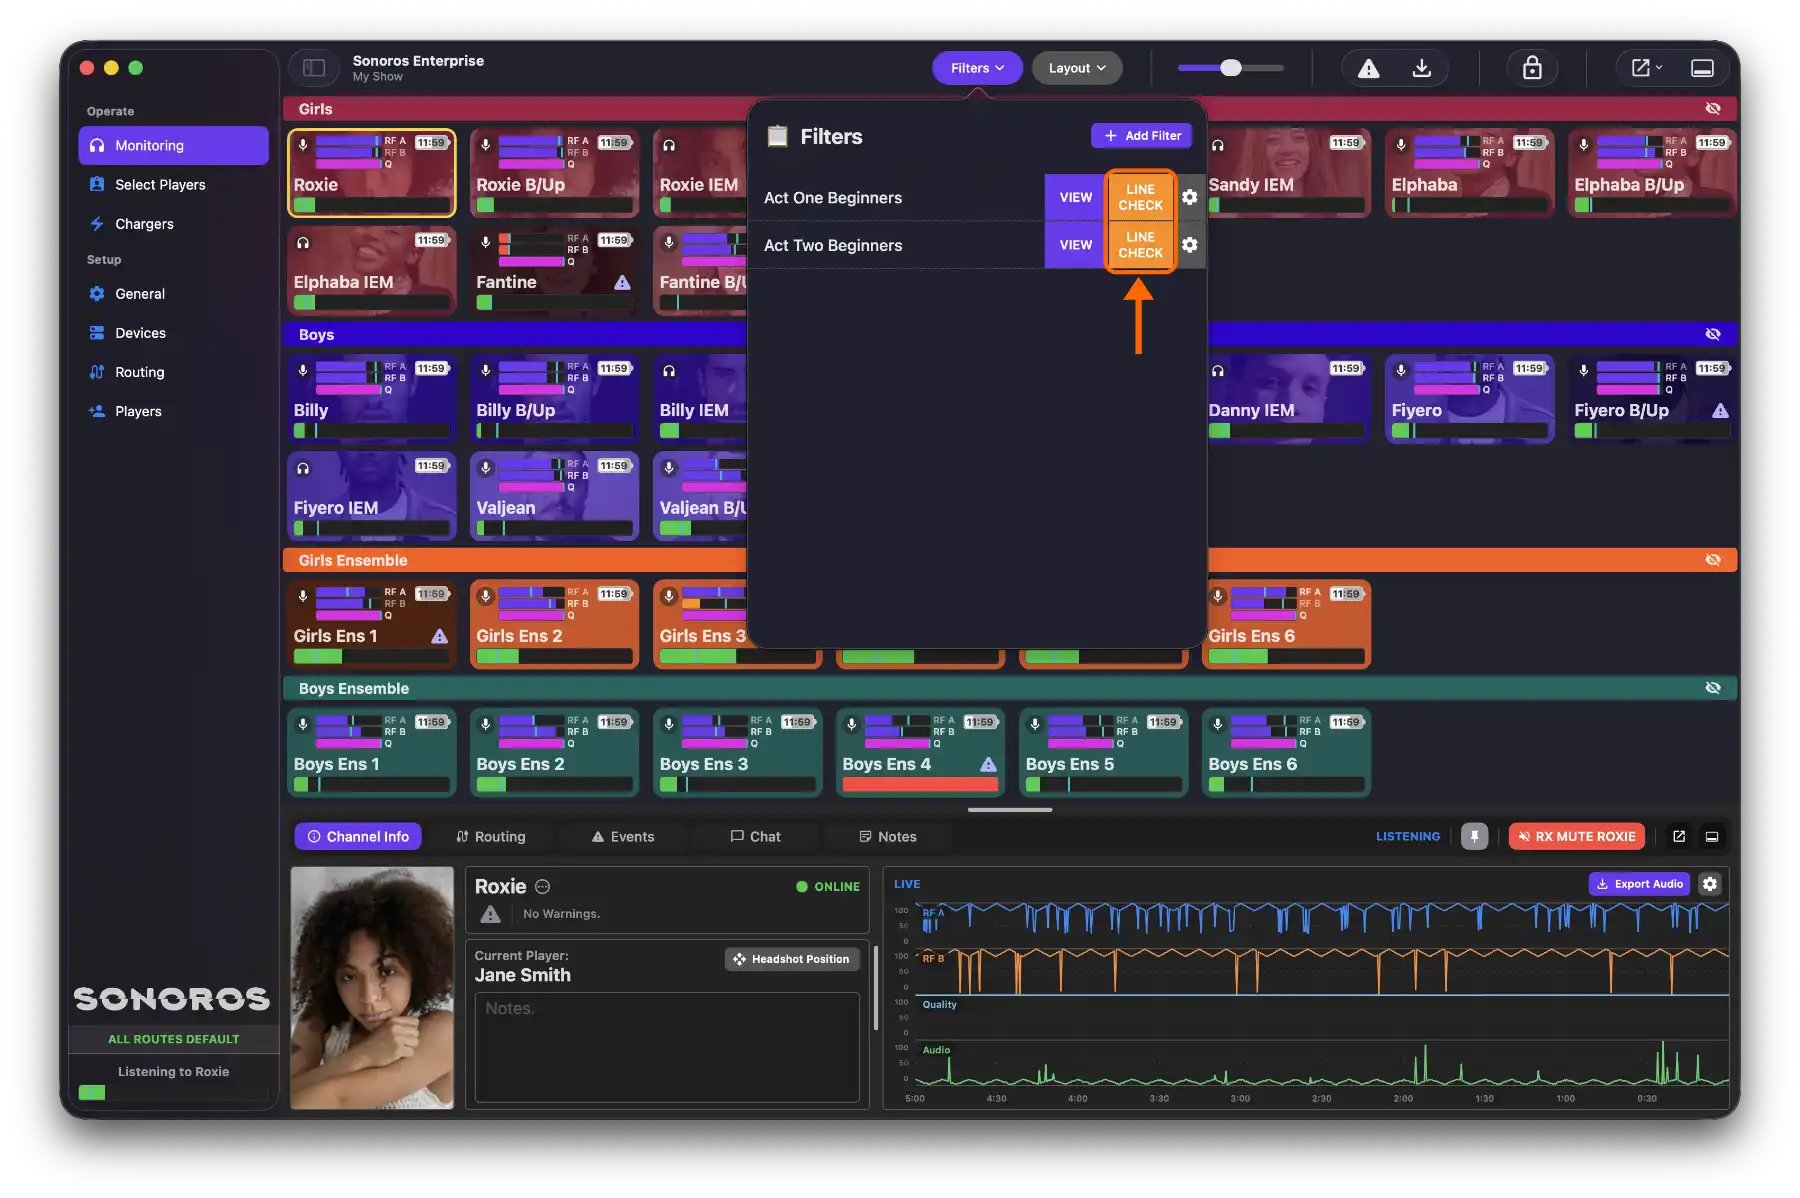
On the server, open the Filters dropdown. Each filter has two buttons: View and Line Check.
View applies the filter to the monitoring view, showing only the channels in that filter. Line Check puts those channels into line check mode. These are independent: you can start a line check without changing what's visible in the monitoring view, and vice versa.
Click Line Check next to a filter to start. A line check bar appears at the top of the monitoring view.
Marking channels
Select a channel. Use the Checked toggle in the line check bar to mark it as checked or unchecked. You can also press Space to toggle the selected channel.
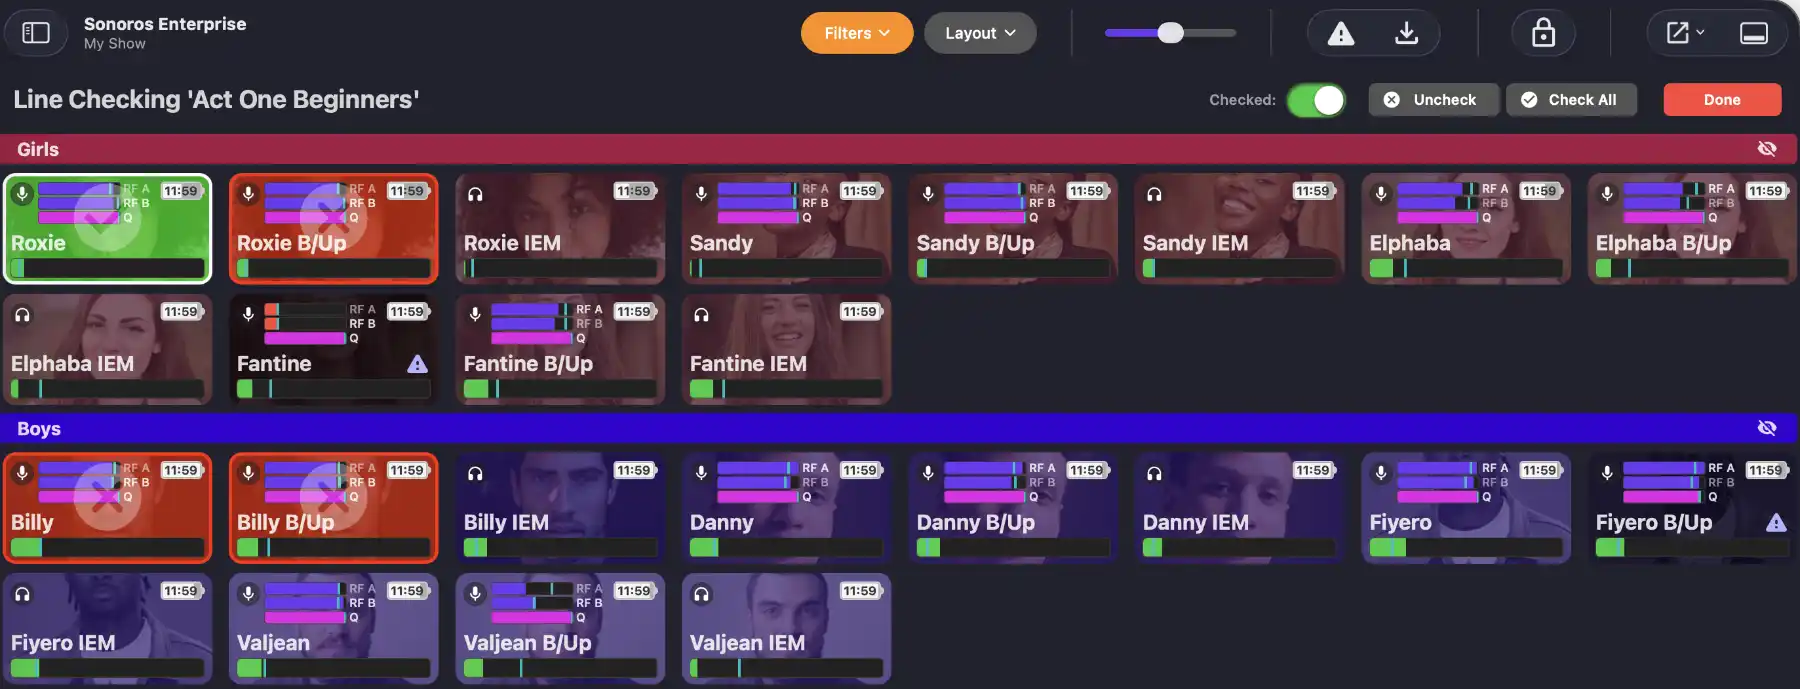
To mark every channel at once, click Check All or Uncheck All.
Ending a line check
Click Done in the line check bar when you're finished.
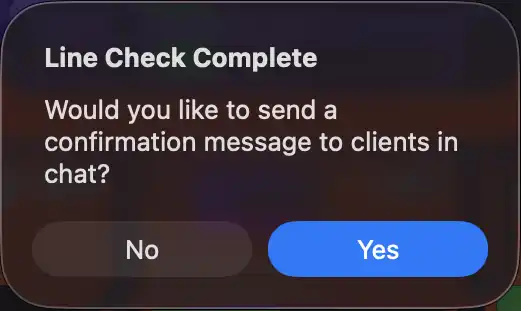
If all channels are checked, a dialog asks whether you want to send a confirmation message to clients in chat. Click Yes to send it, or No to end without sending.
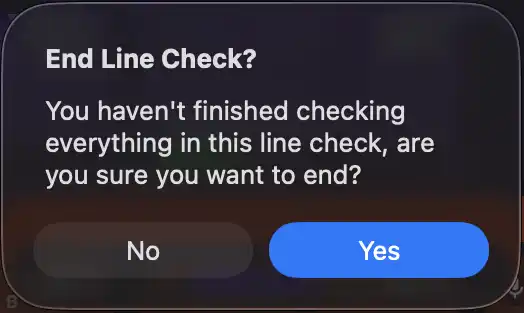
If some channels aren't checked yet, a warning asks whether you're sure you want to end. Click Yes to end anyway, or No to go back.
Viewing a line check on a client
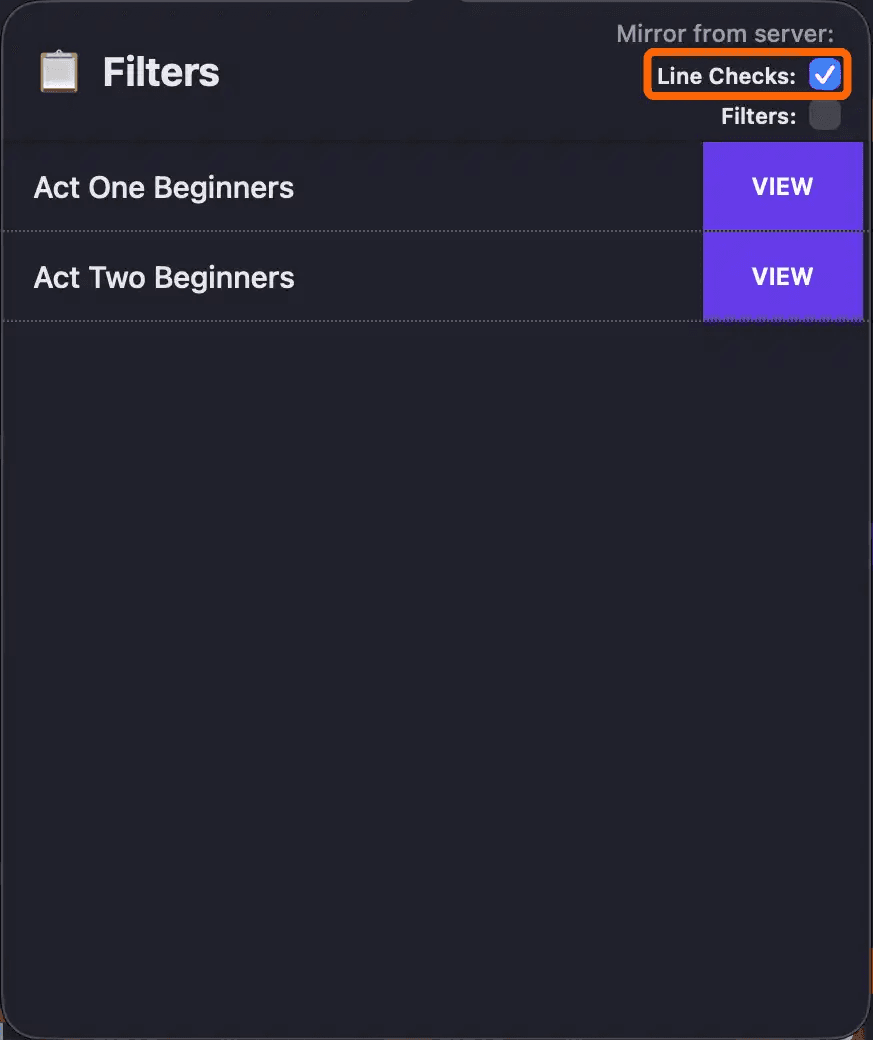
Clients can't run line checks, but they can follow along. On a client, open the Filters dropdown. Under Mirror from server, tick Line Checks to mirror the active line check from the server.
Line check lets you work through a filter's channels one by one and mark each as checked. You'll need a filter set up before starting. See the Filters article if you haven't done that yet.
Starting a line check
On the server, open the Filters dropdown. Each filter has two buttons: View and Line Check.
View applies the filter to the monitoring view, showing only the channels in that filter. Line Check puts those channels into line check mode. These are independent: you can start a line check without changing what's visible in the monitoring view, and vice versa.
Click Line Check next to a filter to start. A line check bar appears at the top of the monitoring view.
Marking channels
Select a channel. Use the Checked toggle in the line check bar to mark it as checked or unchecked. You can also press Space to toggle the selected channel.
To mark every channel at once, click Check All or Uncheck All.
Ending a line check
Click Done in the line check bar when you're finished.
If all channels are checked, a dialog asks whether you want to send a confirmation message to clients in chat. Click Yes to send it, or No to end without sending.
If some channels aren't checked yet, a warning asks whether you're sure you want to end. Click Yes to end anyway, or No to go back.
Viewing a line check on a client
Clients can't run line checks, but they can follow along. On a client, open the Filters dropdown. Under Mirror from server, tick Line Checks to mirror the active line check from the server.